> For the complete documentation index, see [llms.txt](https://docs.pawtato.gg/llms.txt). Markdown versions of documentation pages are available by appending `.md` to page URLs; this page is available as [Markdown](https://docs.pawtato.gg/pawtato-land/gameplay/adventure/proving-grounds.md).
# Proving Grounds
The Proving Grounds is where the Adventure for all Heroes starts
Before the [Land Placement Process](/pawtato-land/gameplay/the-world/land-placement-process.md) and the introduction of the Capital City of each Tribe, your Heroes will start out in the Proving Grounds, where a small Village called Hearthstead offers everything they need, but is surrounded by danger.
{% hint style="info" %}
📍 **Jump in:** [Open the Proving Grounds in Pawtato Land](https://pawtato.gg/?pgg=1)
{% endhint %}
Encounter various creatures of Axoma, fight for **Experience** and **Loot** until you are ready to face Morito, the **Boss** of the Proving Grounds and enter dangerous [**Dungeons**](/pawtato-land/gameplay/adventure/dungeons.md).
{% hint style="info" %}
For now, Heroes can progress up to Level 5.
{% endhint %}
## How to battle encounters/enemies (step by step)
1. **Find an encounter on the World Map.** Enemy encounters are not confined to a separate area - they spawn **across the whole World Map**. Roam the map to spot them, or open the minimap ("Open map overview") and pick a fly-to location such as [**Proving Grounds**](https://pawtato.gg/?pgg=1) - the starting area around Hearthstead - to jump there.
2. **Select your Hero.** On the Hero panel, click the **Switch hero** button (the ↻ icon) to open the **Select Hero** window, then click the Hero you want to send into battle. You can filter and sort the list (for example, **Sort by Stamina**) to find a ready Hero.
3. **Choose a target on the map.** Enemy [encounters](#encounters) appear as icons scattered across the map (the Boss, **Morito**, guards the Hallow Maw to the north). Click an encounter icon to open its window, which shows the enemy's Level, HP and Skills.
4. **Start the fight.** Click **Fight**. If you have no Hero selected, are out of stamina, or your Hero is in a dungeon or on an assignment, the button is locked and tells you why.
5. **Watch the battle resolve.** Combat plays out automatically. Use the **Speed** buttons (1x / 1.5x / 2x) to speed it up, or click **Skip to End** to jump straight to the result.
6. **Collect your rewards or handle defeat.**
* On victory, the result screen shows your **Experience** gained and any **Loot**. Click **Claim** (or **Close** if nothing dropped) to bank the rewards. You can also **Review Battle Log**.
* The **Claim** button also carries **what the haul is worth**, in brackets — e.g. **Claim ($1.24)**. The figure is priced live: resources at their current price, and dropped items from the lowest **Marketplace** listing for that item. A **\~** in front means part of the haul could not be priced (nothing is listed for it right now), so the real value is at least what's shown. If nothing at all could be priced the button simply reads **Claim** — unknown, not worthless. [Dungeon](/pawtato-land/gameplay/adventure/dungeons.md) section fights use the same button.
* On defeat, the screen shows your **Hero Status**. Click **Fight Again** to retry the same enemy, or **Close** to leave. If the loss left your Hero [injured](#injury), heal before fighting on.
7. **Heal at the Healing Well.** Click the **Healing Well** building on the map to open it. Use a **Health Potion** (a Lesser / Health / Greater Health Potion removes 1 / 2 / 3 Injury stacks), pay a small **TATO** fee to remove one stack, or claim the **free daily heal** (up to 3 stacks). If you lack a potion, you can buy or craft it from the prompt. Injuries also clear on their own 48 hours after the last stack was gained.
8. **Fighting while injured.** An injured Hero can still fight — there's no confirmation prompt, they attack right away and face the **same Injury odds as a healthy Hero**. Just note that **losing again can add more Injury stacks** on top of the ones the Hero already carries (up to the cap of 9), so it's often worth healing first.
#### Hearthstead
In this small village Heroes can find shelter to recover, tutors to advance to the next level and a shop with basic amenities:
* **Guild**: Once you have reached the experience threshold for your current level, visit the Guild to advance.
* **Healing Well**: If your Hero loses a fight and gets **injured**, he can recover at the Healing Well. Recovery requires certain resources or a fee to the Guild.
* **Merchant**: Purchase very basic [Equipment](/pawtato-land/gameplay/equipment.md) and Gems to acquire [Skills](/pawtato-land/gameplay/heroes/skills.md).
* **Crafting**: The Tailor, Leatherworker, Woodwright, Blacksmith and Mason can use your materials to craft various [Equipment](/pawtato-land/gameplay/equipment.md).
#### Encounters
The World Map is home to **five different species**, which are hostile towards Pawtatoes. Blocking the entrance to **the Hallow Maw**, the strongest foe awaits: **Morito, the Fallen One**.
* Encounters **spawn randomly** across the World Map and will remain for a certain duration before they disappear.
* There are always **multiple encounters** on the map **at the same time** (excluding the Boss).
* Encounters are the **same for every player.**
* Every unique encounter can only be **beaten once** **per unique Hero**.
* There is a small chance for a newly spawned Encounter to be an **Elite Encounter** - a significantly stronger version, which can yield **amazing additional rewards**.
{% tabs %}
{% tab title="Ashhound" %}
*Known as loyal hunting companions of Pawtatoes, Ashhounds roam the ridges and volcanic slopes alongside the Emberclaws. But the shifting lands and Supay’s creeping corruption have driven many into a feral frenzy, abandoning their natural habitat.*
{% endtab %}
{% tab title="Slime" %}
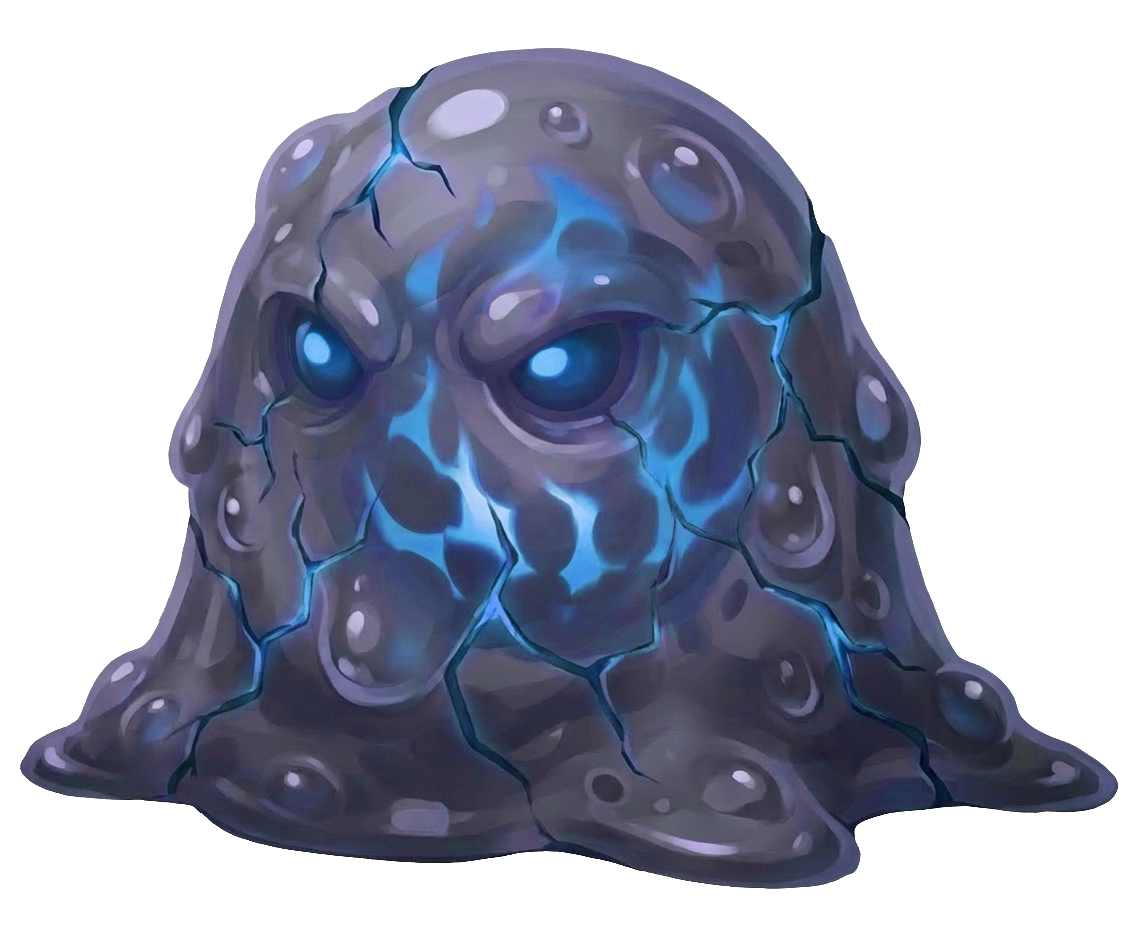
*Where corruption pools and life decays unnaturally, strange residues gather into living masses. These Slimes are not born creatures but matter infused by Supay's divine essence. They are fairly resistant to magical damage, but yield to physical attacks.*
{% endtab %}
{% tab title="Wraith" %}
*When the barrier shattered, not only the living were disturbed. Echoes of past souls, long at rest beneath Axoma’s soil, have begun to stir. These restless Wraiths drift through the ruins, bound to unfinished memories and drawn to the warmth of living beings. They are fairly resistant to physical attacks, but yield to magical damage.*
{% endtab %}
{% tab title="Mossfang" %}
*Once harmless geckos that sheltered in Axoma's mossy undergrowth, Mossfangs have been warped by the pooling corruption seeping up from the fractured earth. Their saliva now carries a venom that burns from within.*
{% endtab %}
{% tab title="Crazed Badger" %}
*Badgers once burrowed peacefully beneath Axoma’s forests, shaping the soil and keeping balance in the undergrowth. Now their habitats have been twisted by corruption and shifting terrain, leaving them territorial and violently protective of what little ground remains theirs.*
{% endtab %}
{% tab title="Morito, the Fallen One" %}
*Morito was once a respected Pawtato of the outer settlements, known for his curiosity and ambition. When the barrier broke, Supay’s whispers found fertile ground in his heart. Promised strength beyond mortal limits, Morito embraced the corruption. He has withdrawn into the Hallow Maw, a cave north of the Proving Grounds.*
{% endtab %}
{% endtabs %}
#### Injury
If a Hero loses a fight, there is a chance they come away **injured**. Injury is a **stackable** debuff: a Hero can carry from **1 to 9 Injury stacks**, and **each stack lowers their Maximum HP by 10%** (capped at 9 stacks / −90% Max HP). Even a heavily injured Hero is still able to fight.
Injury Stacks
Maximum HP Penalty
0 — Healthy
none
1
−10%
2
−20%
3
−30%
…
…
9 (max)
−90%
The number of Injury stacks a Hero gains on a lost fight depends on the level difference (enemy level − hero level). New stacks **add on top** of any stacks the Hero already carries, up to the cap of 9:
Level Difference
No new stack
+1 stack
+2 stacks
+3 stacks
≤ 0
65%
30%
5%
—
+1
30%
40%
20%
10%
+2
—
—
75%
25%
≥ +3
—
—
50%
50%
{% hint style="info" %}
Dungeon encounters use this same Injury table.
{% endhint %}
**Recovering from Injury**
Injury stacks can be removed in several ways:
* **Health Potions** — a **Lesser Health Potion** removes 1 stack, a **Health Potion** removes 2, and a **Greater Health Potion** removes 3. Use them straight from your **Backpack** (potions can't be used at the Healing Well).
* **Healing Well (paid)** — pay a small **TATO** fee at the Well to remove one stack at a time (the fee scales with the live TATO price).
* **Free daily heal** — once per day you can heal up to **3 stacks** for free at the Healing Well.
* **Wait** — the whole Injury debuff clears on its own **48 hours** after the last stack was gained; every new stack restarts that timer.
See the [Healing Well](/pawtato-land/gameplay/buildings/healing-well.md) page for the full details.